
A New Kind of At-Home Glam
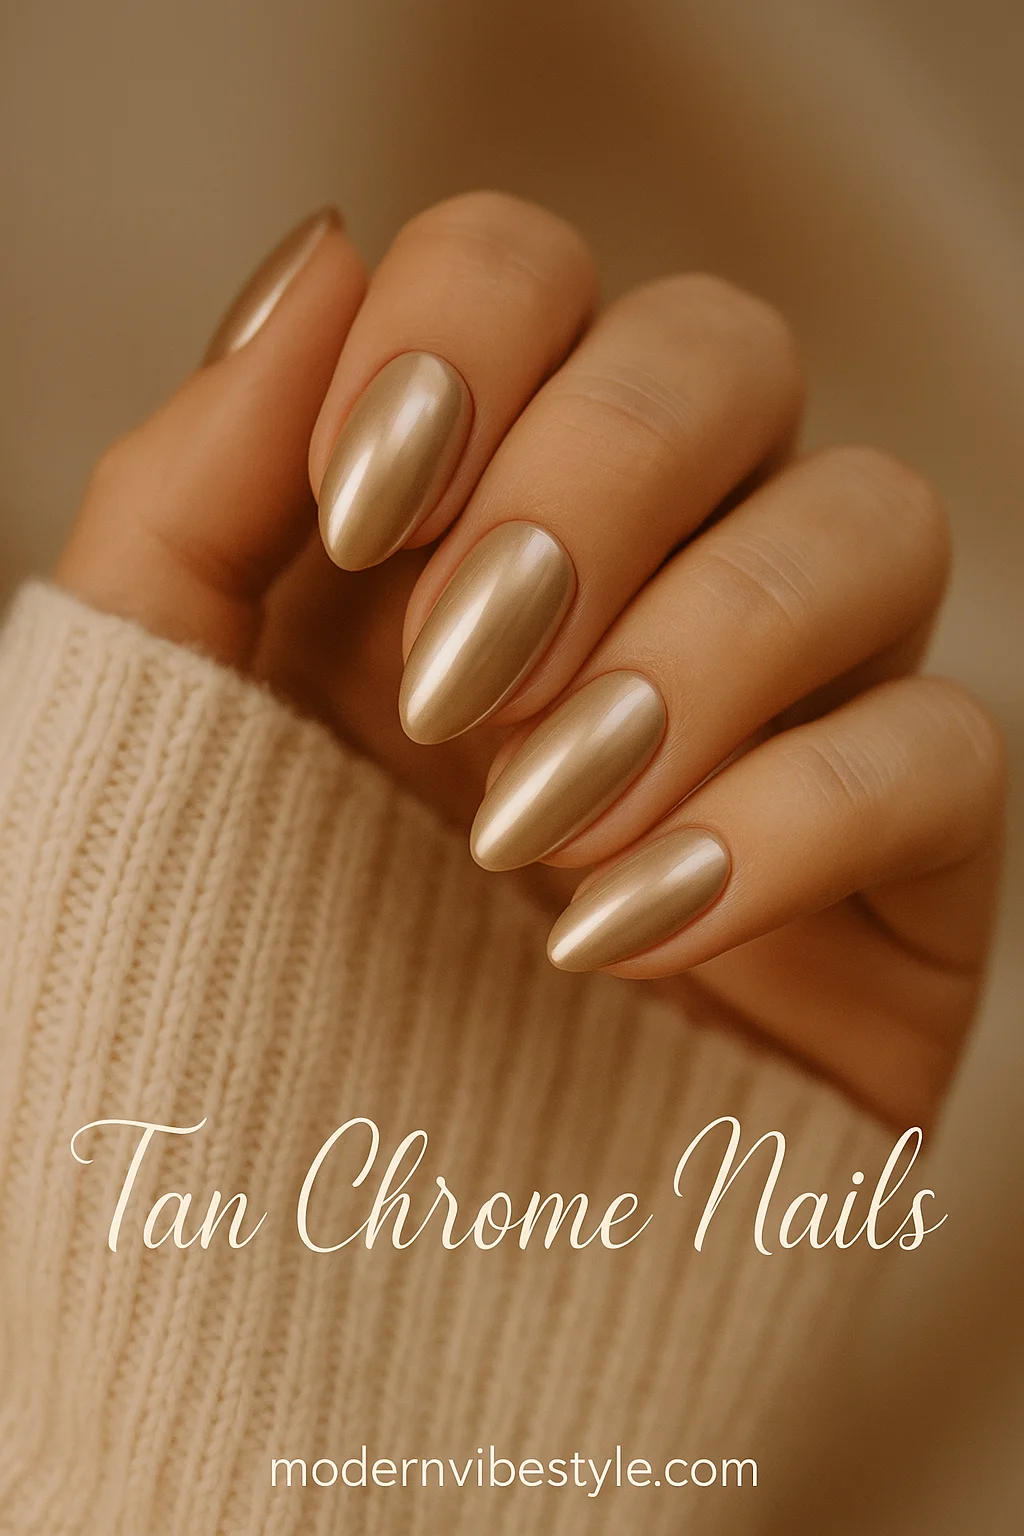
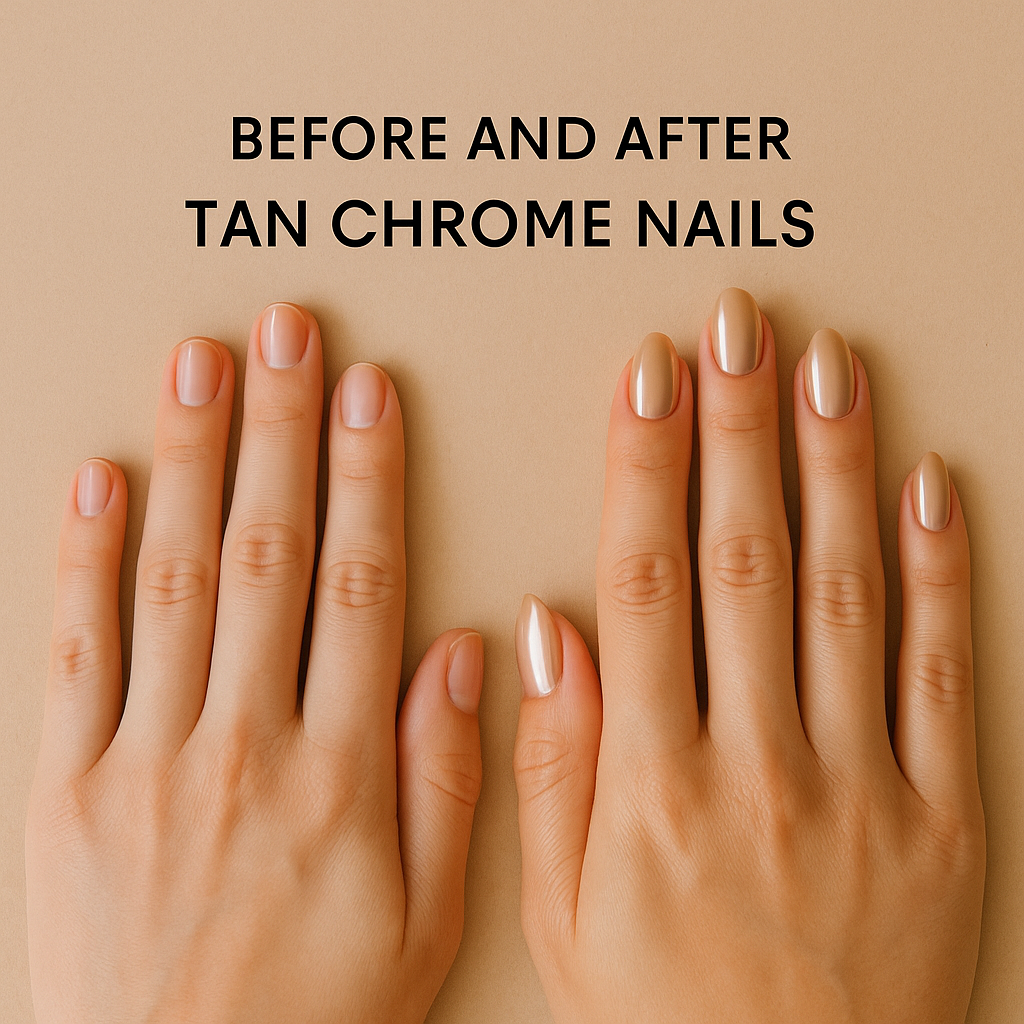
You’ve seen the pictures. Sleek, neutral, shiny nails with a hint of luxury. Maybe you’ve saved them to your Pinterest board or paused mid-scroll on Instagram. The look is simple yet magnetic. It’s tan with chrome nails, and it’s become the go-to manicure for beauty lovers who want elegance with edge.
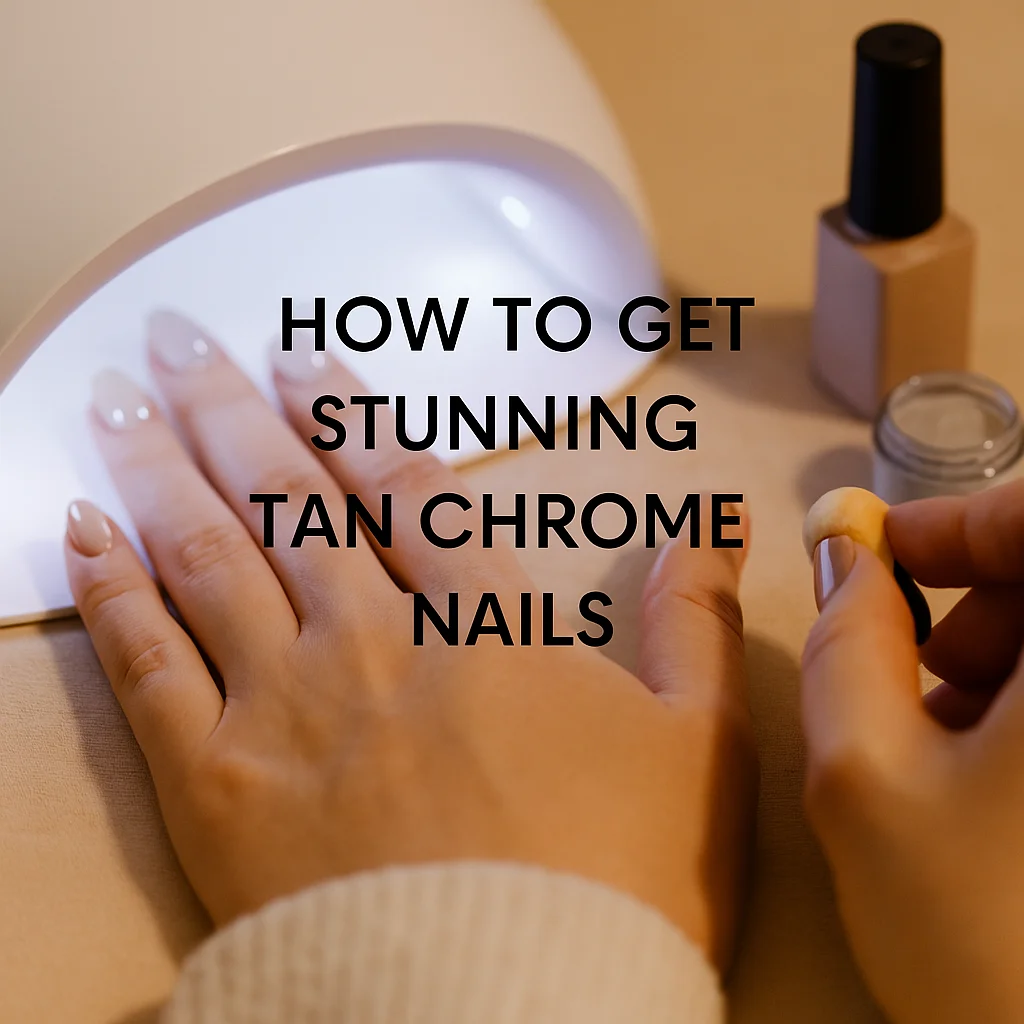
The best part? You don’t need to book a salon appointment to get them. You can achieve this radiant, refined style from the comfort of your home—no professional experience required. With the right tools, clear steps, and a little patience, your nails can shine with that irresistible chrome glow.
What Makes Tan with Chrome Nails So Desirable?
There’s a reason this style is making waves. Tan is timeless. Chrome is futuristic. Together, they strike a rare balance between subtle and striking.
The Look Explained
-
Tan polish provides a natural, understated base that complements every skin tone.
-
Chrome powder adds depth and shine, reflecting light like a mirrored surface.
This combo gives your nails a clean, put-together look—without appearing overly done.
Why Tan Chrome Nails Are Perfect for Home Application
You might assume that chrome effects are hard to do without salon-grade tools. But with gel polish and a few essential supplies, the process becomes straightforward and repeatable.
Benefits of At-Home Chrome Manicures
-
Saves time and money
-
Lets you customize your design and finish
-
Easy to maintain and redo as needed
-
You can reuse most of the supplies for multiple applications
With a little practice, your DIY tan chrome nails can rival any professional look.
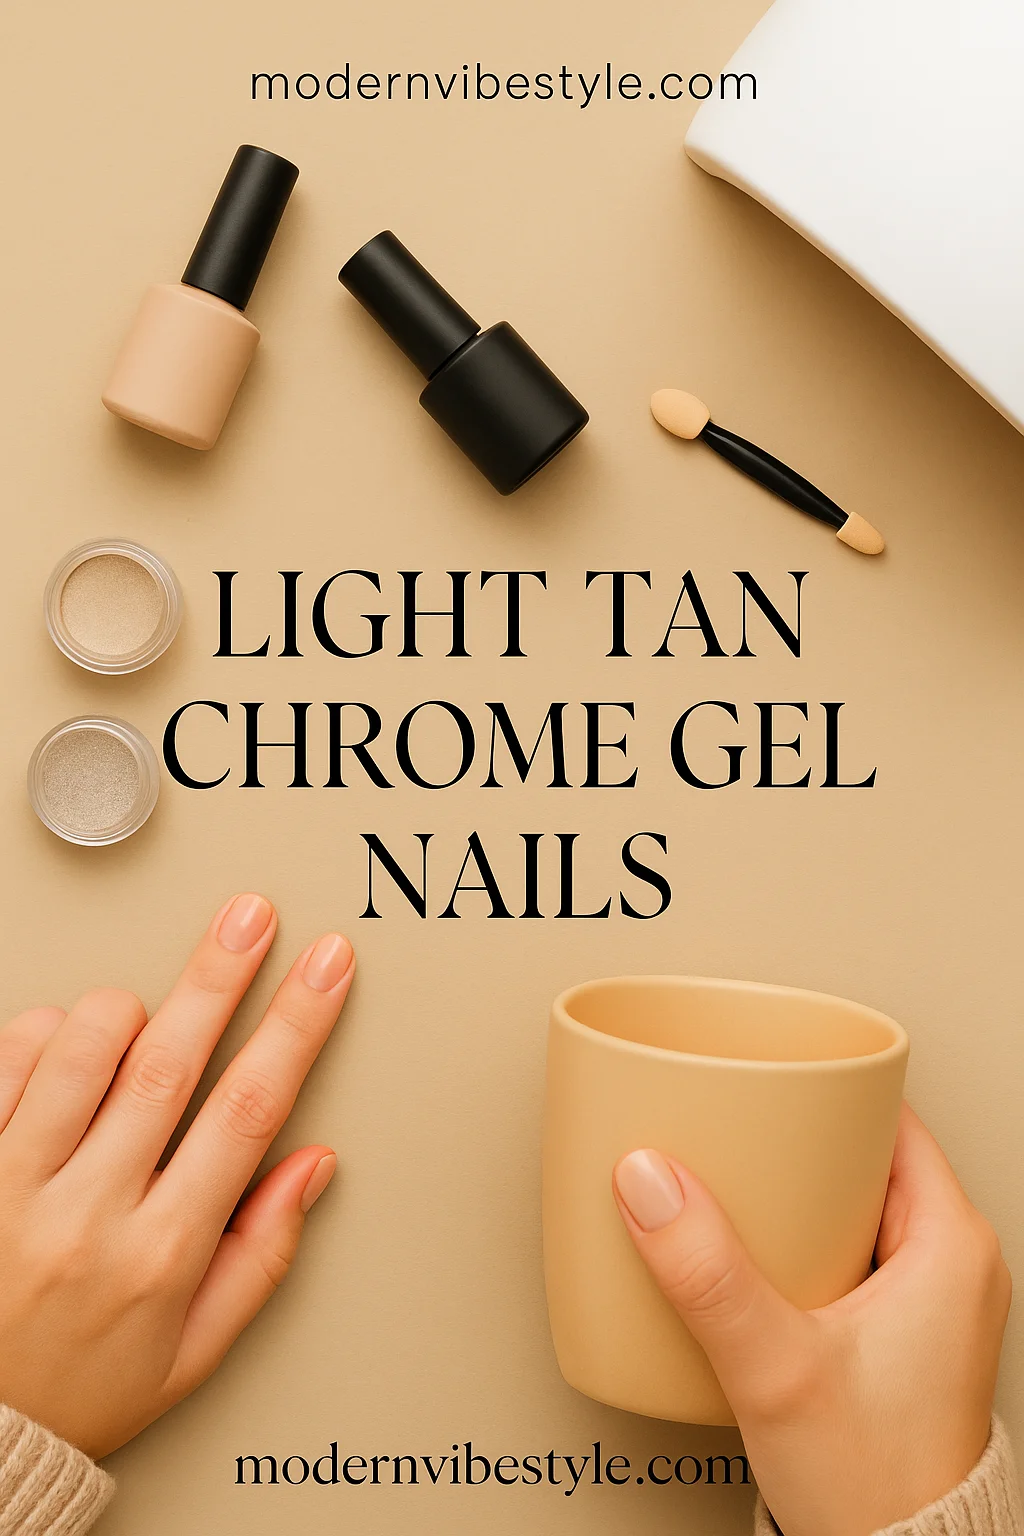
What You’ll Need to Get Started
Before you begin, it’s important to gather the right tools. A quality result depends on preparation.
Supplies Checklist
| Item | Why You Need It |
|---|---|
| Light tan gel polish | Acts as the base color for your chrome nails |
| Chrome powder | Provides the signature mirror-like finish |
| No-wipe top coat | Essential for chrome powder to adhere properly |
| UV/LED nail lamp | Cures gel polish and sets each layer |
| Nail file and buffer | Prepares nail surface for smooth application |
| Base coat | Helps protect natural nails and improves polish adherence |
| Sponge or silicone tool | Applies and buffs in the chrome powder |
| Lint-free wipes & cleanser | Removes dust, oils, and stickiness during steps |
Invest in quality where possible—especially with your chrome powder and lamp.
Step-by-Step: How to Do Tan with Chrome Nails at Home
Follow this tutorial closely, and you’ll be amazed at how achievable this look becomes.
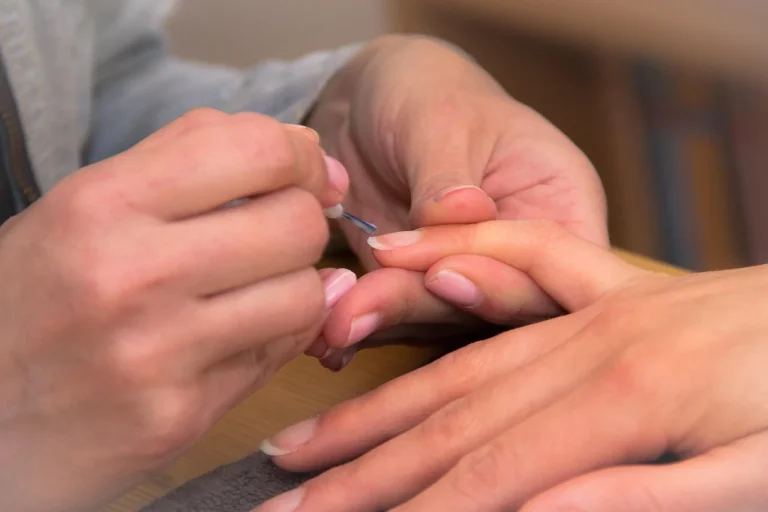
Step 1: Nail Prep is Everything
Don’t rush this. The smoother your nail surface, the better your results.
-
Remove any old polish
-
Shape nails using a file (square, almond, or coffin work beautifully)
-
Gently push back and trim your cuticles
-
Buff the surface to remove shine
-
Clean your nails with cleanser and lint-free wipes
Step 2: Apply Your Base Layers
-
Start with a thin layer of base coat
-
Cure under your UV/LED lamp (usually 30–60 seconds)
-
Apply your first coat of tan gel polish
-
Cure
-
Add a second coat for more pigment
-
Cure again
💡 Tip: Don’t flood the cuticle area—keep polish slightly away from the skin for a cleaner look.
Step 3: The Chrome Transformation
Now comes the magic.
-
Apply a thin layer of no-wipe top coat
-
Cure under the lamp
-
Immediately rub chrome powder onto the nail using a sponge or applicator
-
Buff in circular motions until fully covered
-
Gently dust off any excess powder
Step 4: Seal the Shine
To make your chrome finish last:
-
Apply a final layer of top coat
-
Cure it thoroughly
-
Massage cuticle oil into the surrounding skin for hydration
You’ll immediately notice the shift—your nails will look smooth, reflective, and impossibly chic.
Pro Tips for Better Results
Even with the right tools, your technique makes all the difference. Here’s how to level up your manicure:
Do’s
-
Work in thin, even coats for smooth curing
-
Cure fully after each step
-
Use quality chrome powder—cheaper ones may flake or dull
-
Keep your hands dry before and after application
-
Clean your tools regularly
Don’ts
-
Don’t skip buffing—it’s essential for adhesion
-
Don’t touch your nail surface after curing the top coat (before chrome)
-
Don’t over-buff chrome—too much pressure can cause streaking
-
Don’t store powders in humid areas—it clumps easily
Inspiration: 5 Design Variations You Can Try
Once you’ve nailed the basics, experiment with different chrome nail styles.
-
French Fade Chrome Tips – Soft tan base with shiny chrome ends
-
Matte & Chrome Combo – Use matte tan polish and chrome accents
-
Swirl Art Over Chrome – Add simple swirls in white or gold
-
Gold Chrome Dust Accent Nails – Just one or two chrome nails per hand
-
Minimalist Chrome Dots – Tan base with subtle chrome circles
You can adapt these to your personal taste—or mix and match for fun.
Best Brands for Chrome Nail Success
Not sure which products to trust? These are popular picks among DIY nail enthusiasts and professionals alike:
Top Gel Polishes for Tan Base
-
OPI “Samoan Sand” – Neutral, creamy finish
-
Zoya “Chantal” – Vegan, breathable polish
-
Beetles Nude Gel Polish Set – Budget-friendly with variety
Best Chrome Powders
-
Born Pretty Mirror Chrome – High-shine and consistent
-
Modelones Chrome Dust – Smooth finish and easy to use
-
Makartt Chrome Powder Kit – Comes with multiple tones and tools
Tools That Help
-
MelodySusie UV Lamp – Durable and efficient curing
-
Makartt Applicator Set – Perfect for buffing chrome evenly
-
CND SolarOil – Trusted cuticle oil for aftercare
Aftercare: Keep Your Chrome Looking Fresh
Maintaining your chrome manicure is simple but essential if you want the glow to last.
Daily Maintenance
-
Apply cuticle oil morning and night
-
Avoid using nails as tools
-
Wear gloves while cleaning or doing dishes
-
Reapply a thin top coat every few days for a renewed gloss
How to Remove Chrome Nails Properly
-
Soak cotton pads in acetone
-
Place over nails and wrap with foil
-
Wait 10–15 minutes
-
Gently push off product with a cuticle pusher
-
Buff and moisturize afterward
💡 Never peel your polish—it can damage the nail bed.
Frequently Asked Questions
Can I do tan with chrome nails on natural nails?
Yes—but gel polish is required for chrome to adhere properly. The nail surface must be smooth and well-prepped.
Do I need a no-wipe top coat?
Yes. Chrome powder won’t bond to tacky surfaces. A no-wipe top coat is key.
Will chrome powder damage my nails?
Not if applied correctly. The powder doesn’t damage nails—it’s gel overfiling or improper removal that causes issues.
Can I use regular nail polish with chrome?
It’s not recommended. Gel polish works best because it cures evenly and holds the chrome powder securely.
How long do tan chrome nails last?
With proper application and aftercare, you can expect up to 3 weeks of wear.
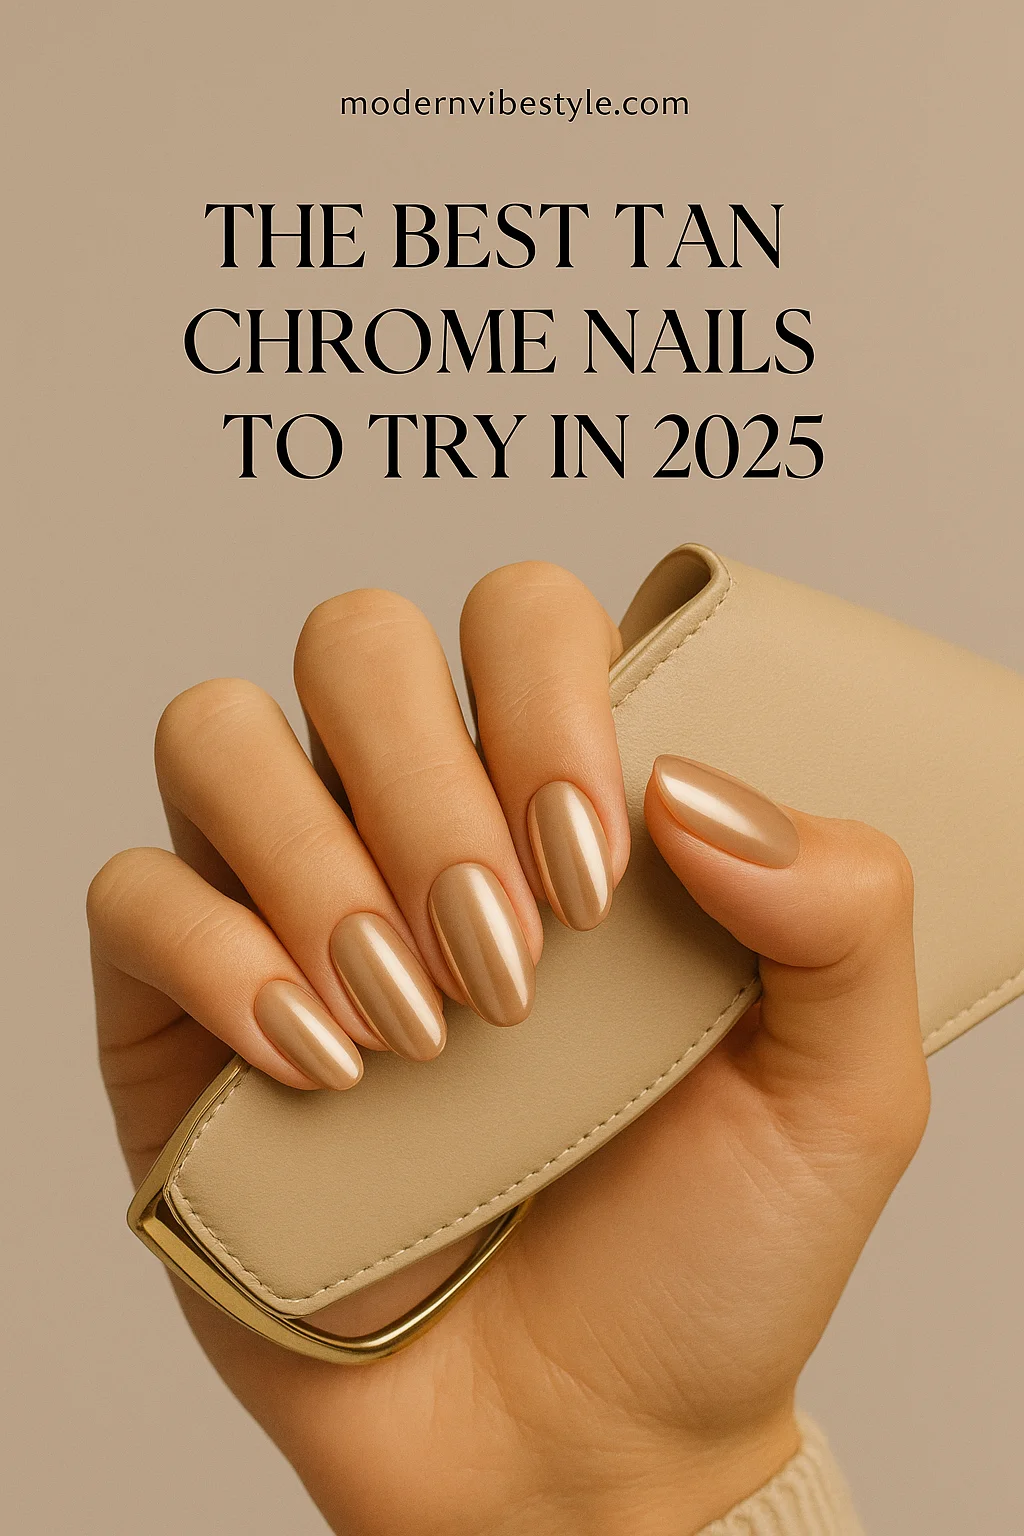
Conclusion: Bring Salon Glam Home
Achieving at home isn’t just a beauty trend—it’s a confidence boost at your fingertips. This elegant, high-shine look brings together the warmth of neutral tones with the striki tan with chrome nails ng finish of chrome, making it a go-to style for everyday wear or special occasions.
By following the steps in this tutorial, you’ve learned how to prep your nails, apply the perfect base, and layer on that chrome effect for a salon-worthy finish. Whether you love short, clean styles or bold shapes with extra shine, tan with chrome nails let you express your aesthetic while keeping things timeless and versatile.
Now that you have the tools and knowledge, there’s no need to wait for your next salon visit. Grab your gel kit, choose your favorite tan tone, and bring your chrome vision to life—right at home.
💬 Ready to Shine?
Which version of tan chrome nails are you most excited to try? Share your favorite design from this tutorial, and tag us in your DIY look—we’d love to see your glow-up in action.